If your lower back aches by mid-afternoon, your desk setup is one of the first things worth checking. A workstation that makes you perch forward, slump back or reach for the screen loads the lower back for hours at a time, and most of the fixes are adjustments rather than purchases.
This guide works through the setup in the order that matters: the chair first, because everything else is set relative to it, then your feet, the desk, the screen, and finally how you move during the day.
This is a setup guide, not medical advice. If back pain is severe, getting worse, or has lasted more than a few weeks, see your GP or a physiotherapist. Get urgent help (NHS 111, or 999 in an emergency) if back pain comes with numbness around your genitals or bottom, loss of bladder or bowel control, or weakness in both legs.
Quick Answer
To take the strain off your lower back at a desk:
- Sit right back in the chair so the backrest supports you, with the lumbar support at the inward curve of your lower back (roughly belt height).
- Set the seat height so your forearms are level with the desk and your hips sit level with or slightly above your knees. Our desk height calculator gives you the numbers for your height.
- Get your feet flat, on the floor or a footrest.
- Lean the backrest slightly back, around 100 to 110 degrees, rather than sitting bolt upright.
- Bring the screen to you: top of the screen at eye level, about arm's length away, so you stop leaning forward.
- Change position often: stand, walk or shift posture at least every 30 to 60 minutes.
The sections below explain each step and what to do if your chair or desk will not adjust far enough.
Step 1: Sit Back and Find the Lumbar Support
Most lower back strain at a desk comes from the same habit: perching on the front of the seat and leaning towards the screen. In that position the backrest does nothing, and the muscles of the lower back hold you up all day.
- Sit with your bottom right at the back of the seat. Your back should touch the backrest along its length.
- Position the lumbar support at the small of your back, the inward curve just above the belt line. Too high and it pushes your upper back forward; too low and it presses on your pelvis.
- Adjust its depth if your chair allows it. You should feel gentle support that keeps the natural curve, not a hard bump pushing you forward.
- Check the seat depth. Leave a gap of about two to three fingers between the front edge of the seat and the back of your knees. If the seat is too deep you will slide forward away from the backrest, which defeats the lumbar support.
If your chair has no adjustable lumbar support, a rolled towel or a small cushion at belt height is a reasonable short-term test of whether support there helps. A chair built around adjustable lumbar support, such as the SIHOO M18 or the adaptive lumbar on the SIHOO Doro C300, is the long-term fix. Our best office chairs UK guide compares options at every budget.
Step 2: Set the Seat Height to the Desk
Set the chair to the desk, not the other way round, unless your desk adjusts.
- Sit with your shoulders relaxed and elbows at your sides. Raise or lower the seat until your forearms are roughly horizontal with your hands resting on the keyboard.
- Check your hips. They should be level with or slightly higher than your knees. Knees above hips tilts the pelvis backwards and flattens the lower back, which is a common cause of end-of-day ache.
- If the chair is now too high for your feet, do not lower it again. Go to Step 3.
Not sure what heights to aim for? Our free desk height calculator takes your height and works out the ideal seat height, sitting desk height and standing desk height, so you have a starting point before you adjust by feel. It is especially useful if you are taller or shorter than average, since a standard 72 to 74 cm desk is set for an average adult.
Step 3: Get Your Feet Flat
Dangling feet pull you forward on the seat and away from the backrest. On a standard 72 to 74 cm desk, shorter people often find this is the step that makes the biggest difference.
- Feet flat on the floor, with your knees roughly at a right angle.
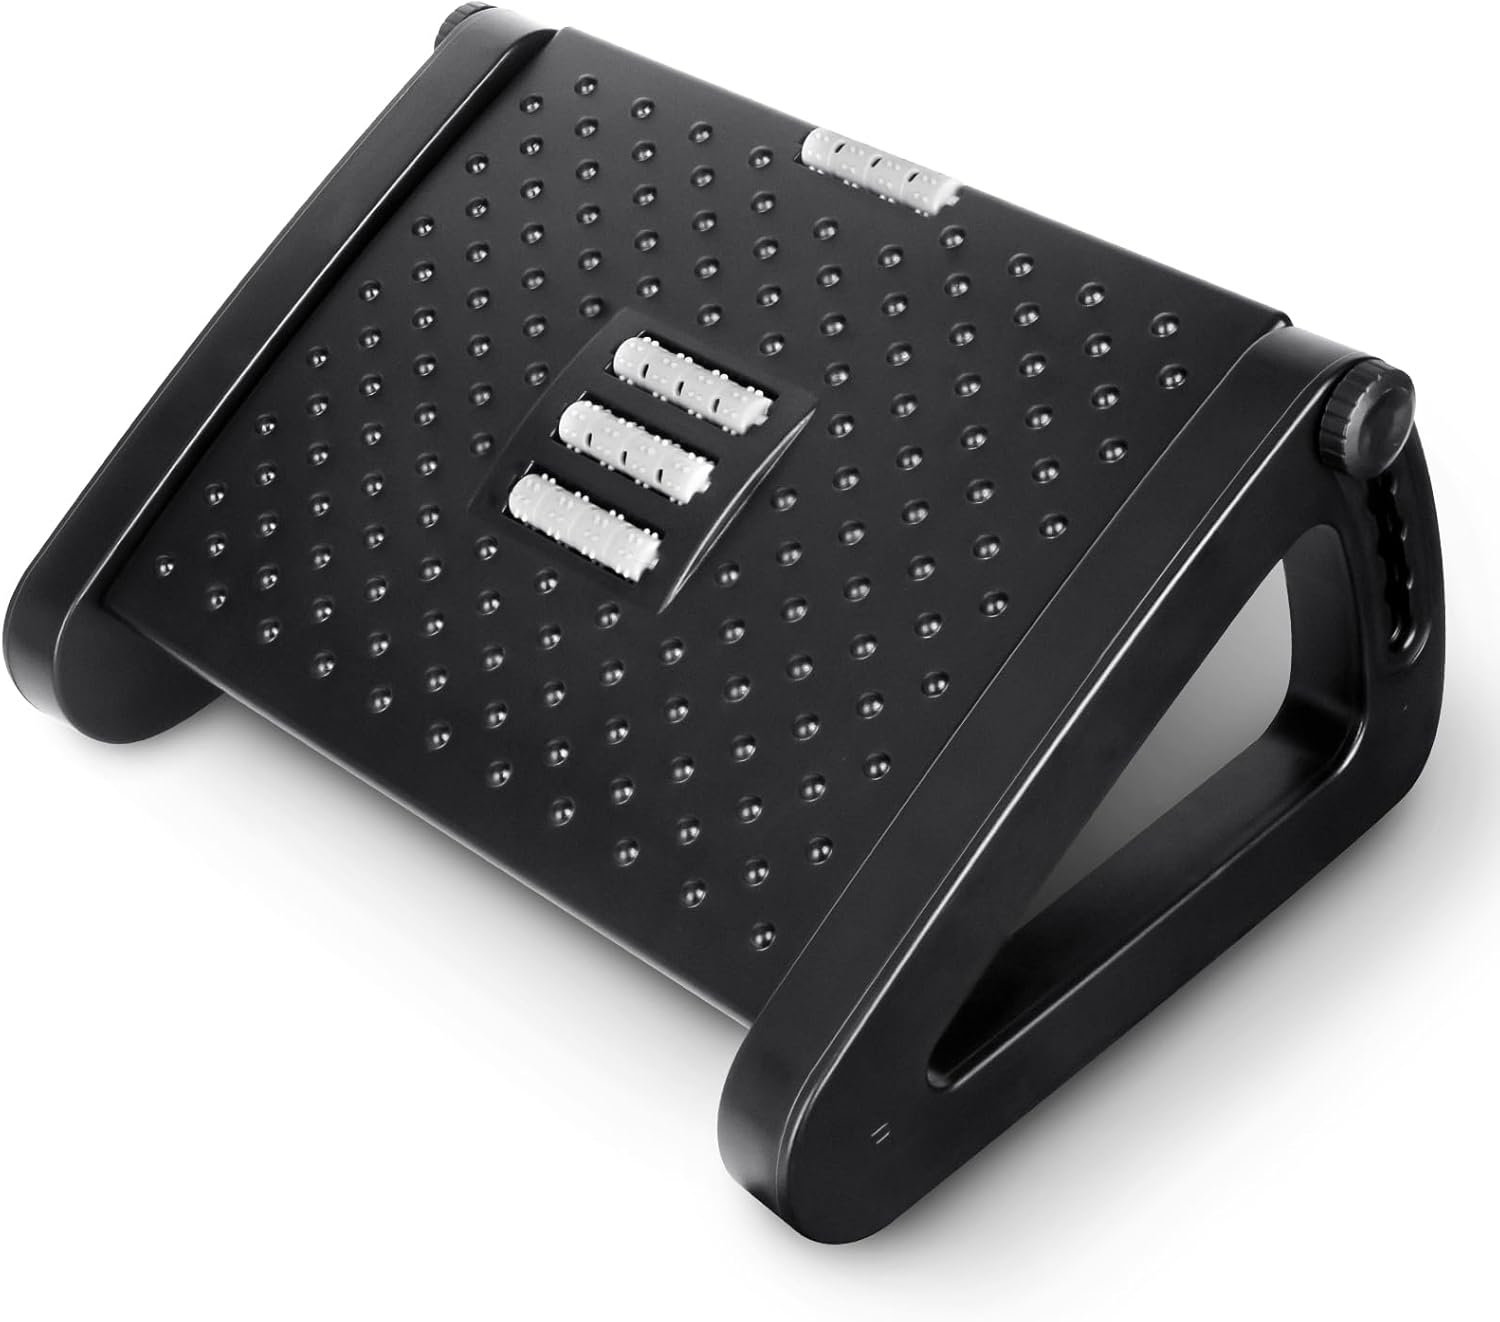
- If they do not reach, use a footrest. An adjustable, tilting one lets you set the height and angle, and gently rocking it keeps your legs moving. The Bryze adjustable foot rest and the Mintoz foot rest are both on our list.
- Clear the floor under the desk. Boxes, bags and a PC tower that stop you sitting close force you to lean forward.
Under the DSE Regulations, an employer must provide a footrest to any screen user who wants one. Our desk accessories guide covers footrests in more detail.
Step 4: Recline Slightly, Do Not Sit Bolt Upright
"Sit up straight" is not the best advice for a sore lower back. Sitting slightly reclined, with the backrest at around 100 to 110 degrees, lets the backrest take some of your upper body's weight off the lower spine.
- Unlock the backrest tilt and set the tension so it supports you without throwing you back.
- Keep the lumbar support in contact when you recline. If you have to lean forward off the backrest to reach the keyboard, the desk or keyboard is too far away.
- Use armrests to rest your forearms lightly, set level with the desk so they do not stop you pulling in close.
Step 5: Bring the Screen and Keyboard to You
Leaning towards a screen undoes everything above. The screen should come to you.
- Top of the screen at or just below eye level. A screen that sits too low on a laptop or a fixed stand draws your head and upper back forward, and your lower back follows.
- About an arm's length away, typically 50 to 75 cm, so you can read without leaning in.
- Keyboard and mouse close to the front of the desk, with your elbows by your sides. Reaching forward for the mouse is a quiet but constant pull on the back.
- Laptop users: raise the laptop on a stand and use a separate keyboard and mouse. A simple laptop riser costs very little and fixes the single biggest posture problem with laptop working.
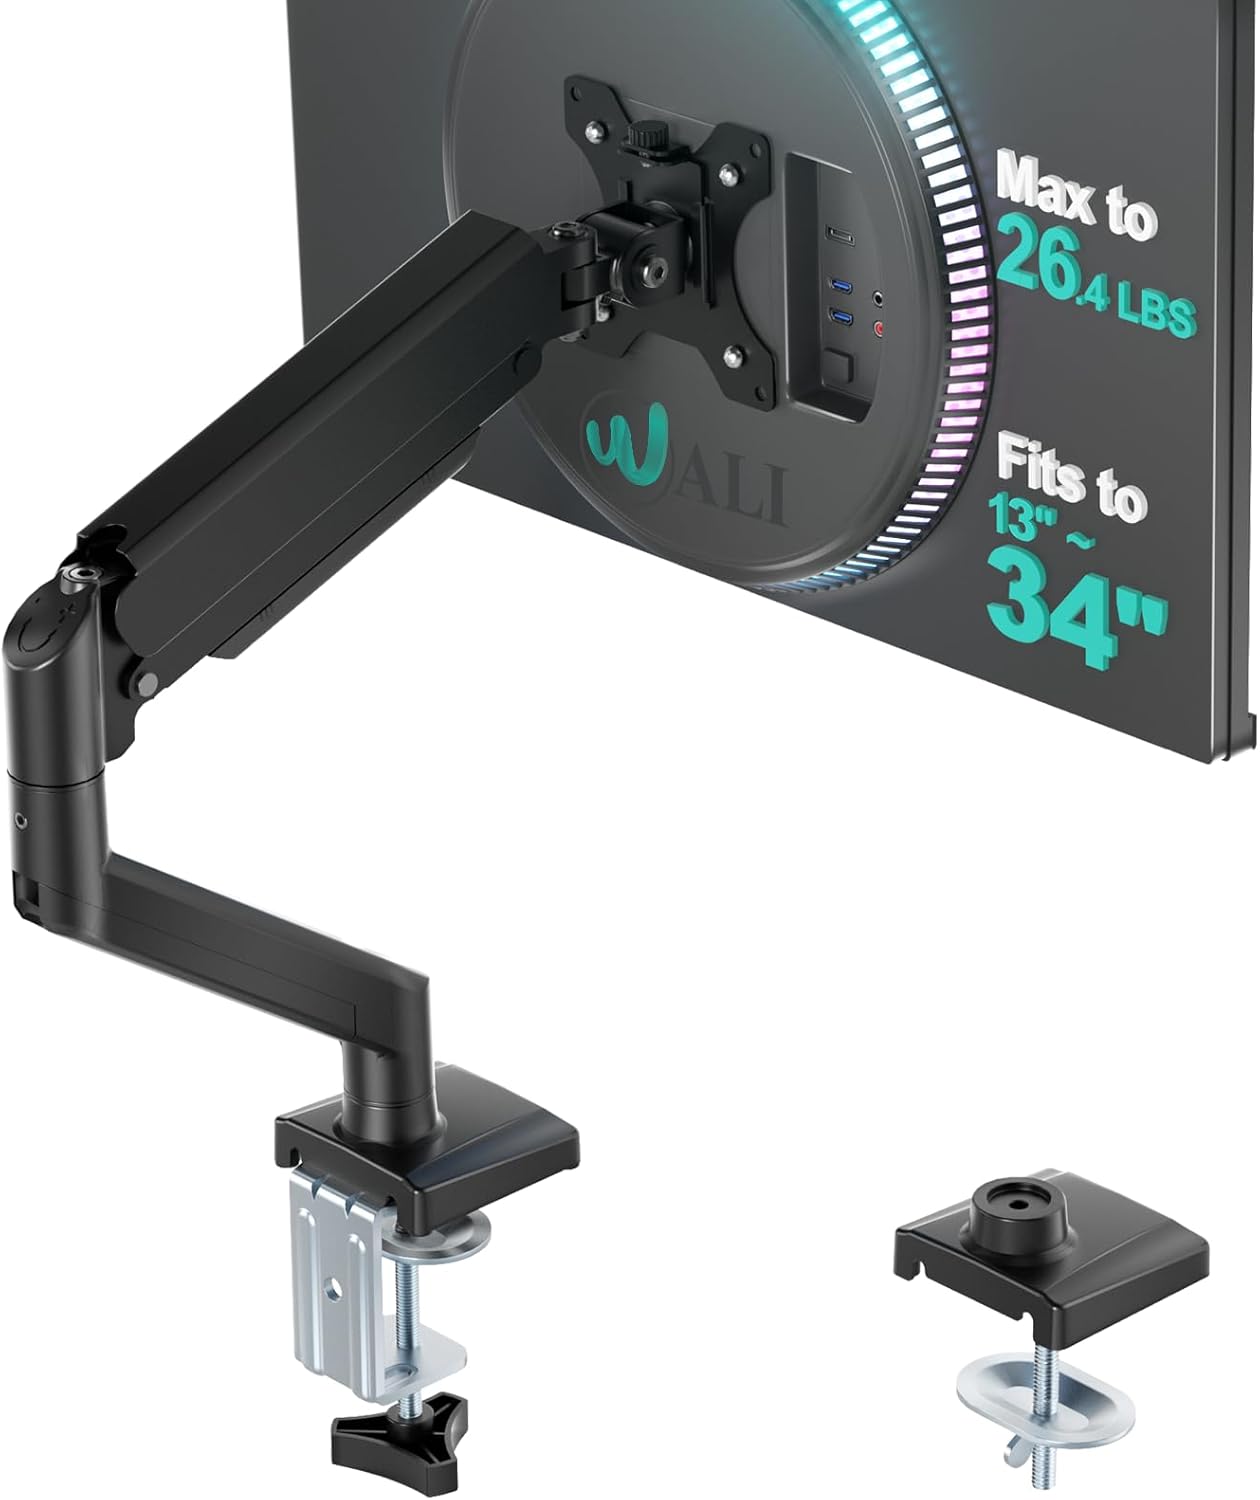
A monitor arm such as the WALI single arm makes it easy to get height and distance exactly right, and to move the screen when you change position. Our monitor stands and arms guide explains when a riser is enough and when an arm is worth it.
Step 6: Move More Than You Think You Need To
Even a perfect setup will not help if you hold one position for hours. The lower back responds best to frequent changes of position.
- Change position every 30 to 60 minutes. Stand up, walk to fill a glass of water, take a call on your feet.
- A sit-stand desk makes this easy. Alternate rather than standing all day: standing for long periods brings its own aches. Start with short spells of 15 to 30 minutes and build up. A desk with memory presets, like the FlexiSpot E1 Plus, means you will actually use it, because changing height is one button press.
- Stand on a cushioned mat, not a hard floor. An anti-fatigue mat reduces the load on your feet, knees and lower back when standing.
- When standing, set the desk to elbow height and avoid locking your knees or leaning on one hip. The desk height calculator gives your standing height too, ready to save as a memory preset.
Our best standing desks UK guide compares desks across budgets, and the standing desks under £300 guide covers the cheaper end.
Common Mistakes That Make Lower Back Pain Worse
| Mistake | What it does | Fix |
|---|---|---|
| Perching on the front of the seat | Backrest unused, back muscles hold you up all day | Sit right back, bring the desk and screen closer |
| Lumbar support at the wrong height | Pushes the upper back forward or presses on the pelvis | Set it at the inward curve, roughly belt height |
| Knees higher than hips | Flattens the lower back | Raise the seat, use a footrest |
| Feet dangling | Pulls you forward on the seat | Footrest |
| Screen too low or too far | You lean forward to read | Raise and move the screen to eye level, arm's length |
| Working from a sofa or bed | No support at all | A proper chair and work surface, even a basic one |
| Standing all day on a new standing desk | Swaps one static posture for another | Alternate, and build standing time up gradually |
Working From Home or in an Office: What Your Employer Must Do
If you use a screen for an hour or more at a time as part of your job, your employer must assess your workstation under the DSE Regulations, including at home. That means checking your chair, desk and screen, and providing equipment such as a suitable chair or a footrest where your setup falls short. If back pain started or got worse at work, tell your employer: reporting discomfort is one of the triggers for a fresh assessment.
Our DSE assessment checklist walks through everything an assessment covers, and works as a self-assessment for home working.
Lower Back Pain at a Desk: FAQs
What is the best sitting position for lower back pain?
Sitting right back in the chair with the backrest slightly reclined, around 100 to 110 degrees, the lumbar support at the inward curve of your lower back, hips level with or slightly above your knees, and feet flat on the floor or a footrest. Then change position regularly, because no single position stays comfortable all day.
Can a bad desk setup cause lower back pain?
It can contribute to it. Sitting for long periods in a position that makes your back muscles work to hold you up, such as perching forward to see a low or distant screen, is a common source of desk-related back ache. Adjusting the setup and moving more often helps many people, but persistent or severe pain should be checked by a GP or physiotherapist.
Is a standing desk good for lower back pain?
A sit-stand desk helps mainly because it makes changing position easy. Alternating between sitting and standing is better than doing either all day. Build standing time up gradually and use a cushioned mat.
Do I need an expensive chair for lower back pain?
Not necessarily. What matters is adjustable seat height, a backrest that adjusts in height and tilt, and lumbar support you can position at the right height. Those features are available at mid-range prices. A correctly set mid-range chair beats an expensive one that is set up wrong.
How high should my chair be for lower back pain?
High enough that your forearms are level with the desk and your hips are level with or slightly above your knees. If that leaves your feet off the floor, add a footrest rather than lowering the chair. The desk height calculator suggests a seat height for your height as a starting point.
Should I use a lumbar cushion?
If your chair has no adjustable lumbar support, a lumbar cushion or a rolled towel at belt height can help keep the natural curve of your lower back. If it pushes you forward or feels uncomfortable, it is in the wrong place or too thick.
The Short Version
Sit back, support the curve of your lower back, get your feet flat, bring the screen up and in, and keep moving. Most of the improvement comes from adjusting what you already have, so check your numbers with the desk height calculator, work through the steps above before buying anything, and use the DSE checklist to check the rest of your workstation.